Just bought 60s Cox GTM project NDB414G
| Author |
Message |
|
AndyB72
Part built GTM
Joined: Mon Dec 30, 2013 11:51 am
Posts: 85
Location: West Yorkshire
GTM: Cox/Coupe
|
 Re: Just bought 60s Cox GTM project NDB414G Original wheels from the car restored and looking stunning!! They were in really good condition to start with and it was touch and go as to whether to get them restored or not but I'm really glad I did, very impressed... Highly recommended - http://www.midastouchgb.co.uk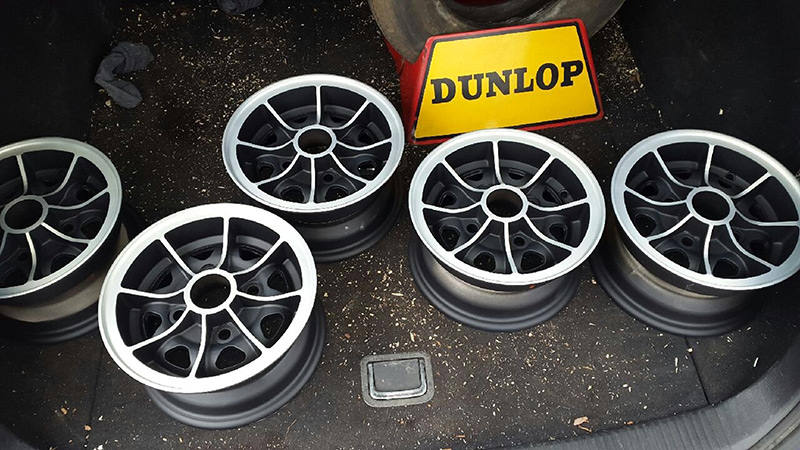 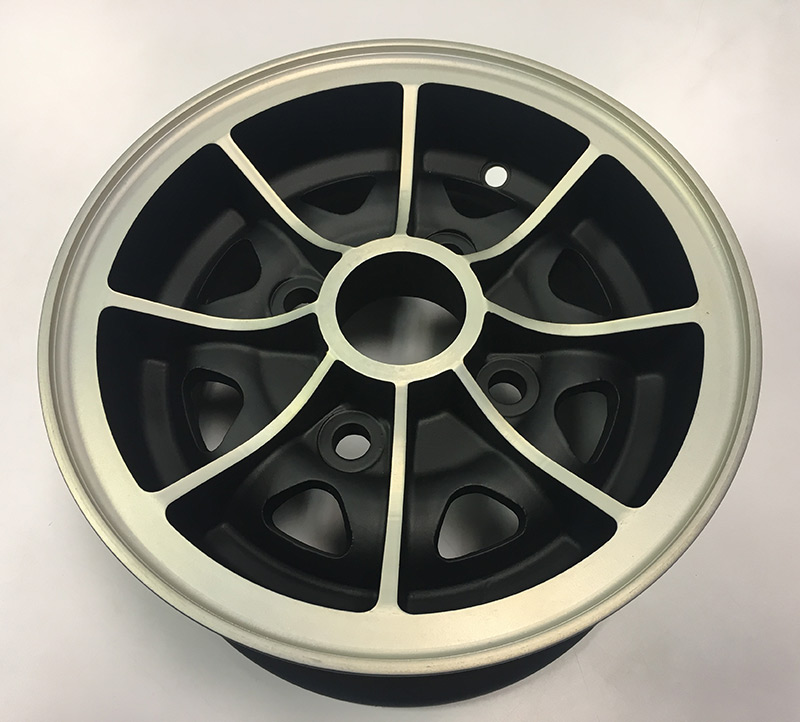 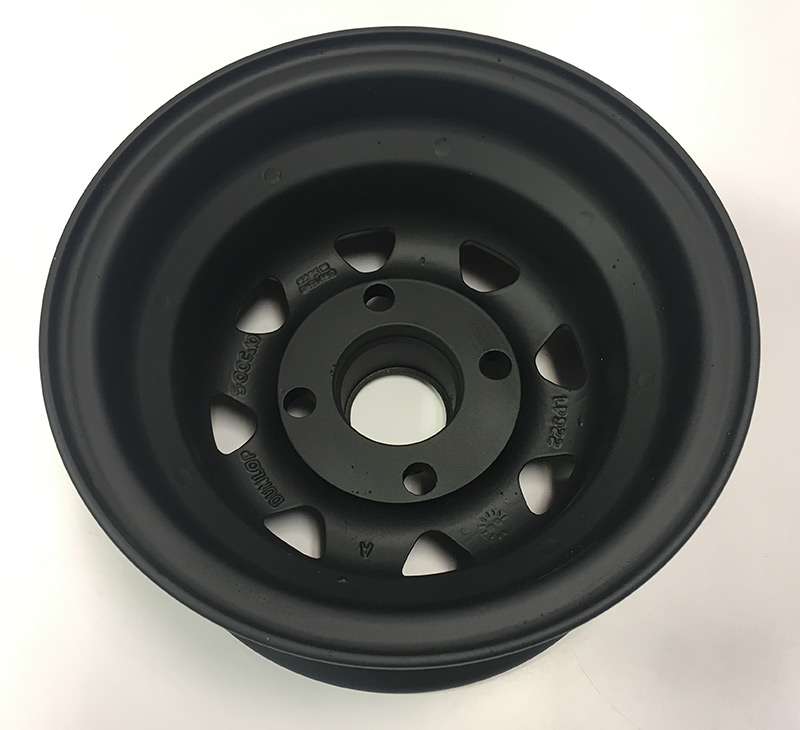
|
| Fri Sep 08, 2017 9:19 am |
  |
 |
|
kano nordie
On the Road
Joined: Wed Jul 31, 2013 11:47 am
Posts: 967
Location: Kano north Nigeria
GTM: Cox/Coupe
|
Re: Just bought 60s Cox GTM project NDB414G This is going to be a very smart looking traditional Coupe
|
| Fri Sep 08, 2017 1:05 pm |
|
|
|
AndyB72
Part built GTM
Joined: Mon Dec 30, 2013 11:51 am
Posts: 85
Location: West Yorkshire
GTM: Cox/Coupe
|
Re: Just bought 60s Cox GTM project NDB414G A big step in the resto this weekend, the tub is finally painted and ready to transport from my parents garage to mine and start fitting up... 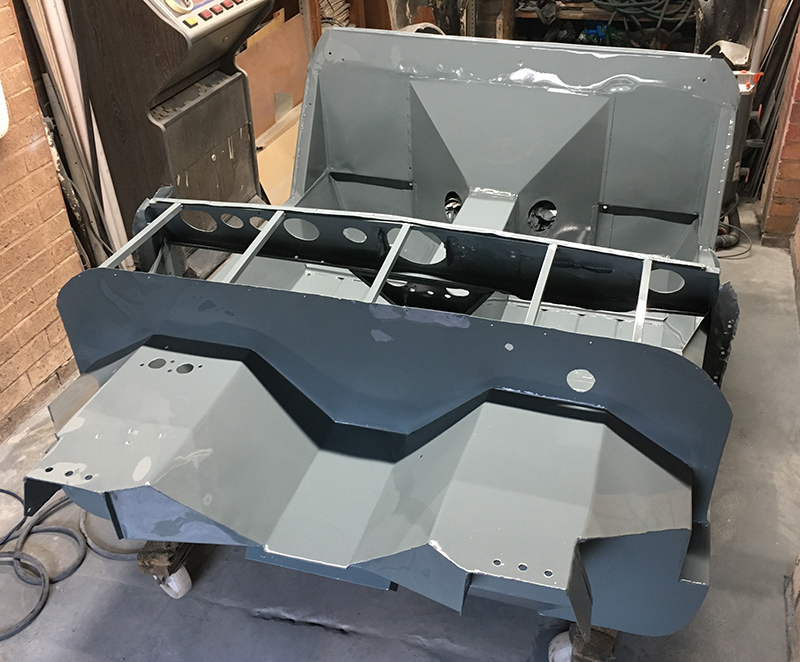 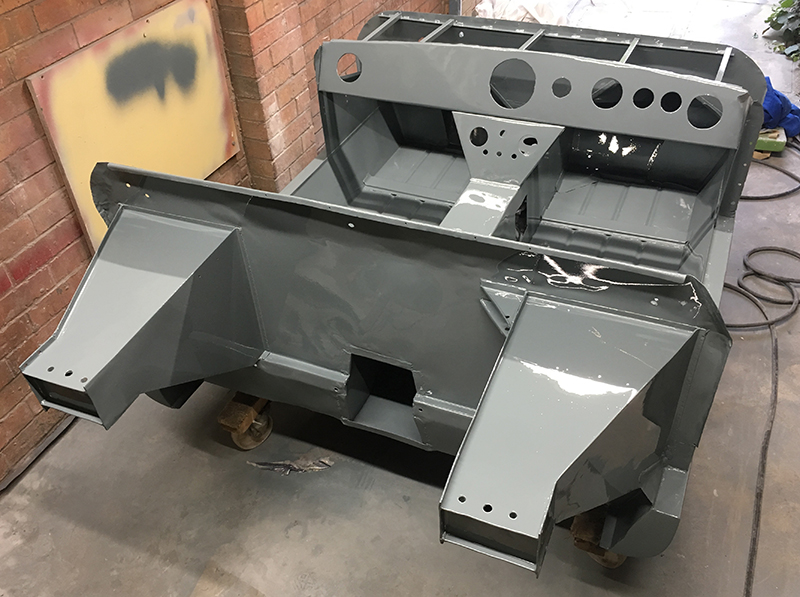
|
| Mon Sep 25, 2017 12:16 pm |
|
|
|
West
Admin, and Coupe Nutter
Joined: Fri Sep 14, 2007 10:34 pm
Posts: 1769
Location: In the workshop
GTM: Cox/Coupe
|
Re: Just bought 60s Cox GTM project NDB414G Shiny!
Neil
_________________
IF wile e coyote had a GTM he would have one with Nitrous too! watch out road runner! The First GTM into the 11s then the 10s, PB 10.87 @ 125.5 Mph on A048 tyres, and fully road legal at Santa Pod
|
| Mon Sep 25, 2017 12:50 pm |
|
|
|
AndyB72
Part built GTM
Joined: Mon Dec 30, 2013 11:51 am
Posts: 85
Location: West Yorkshire
GTM: Cox/Coupe
|
Re: Just bought 60s Cox GTM project NDB414G Well after a few very productive evenings and a bit of sun last night I thought I'd take some more snaps... ...the petrol tanks is a later steel GTM one which might be replaced at a later date with an alloy one. The next major jobs are sorting the gear linkage and handbrake... 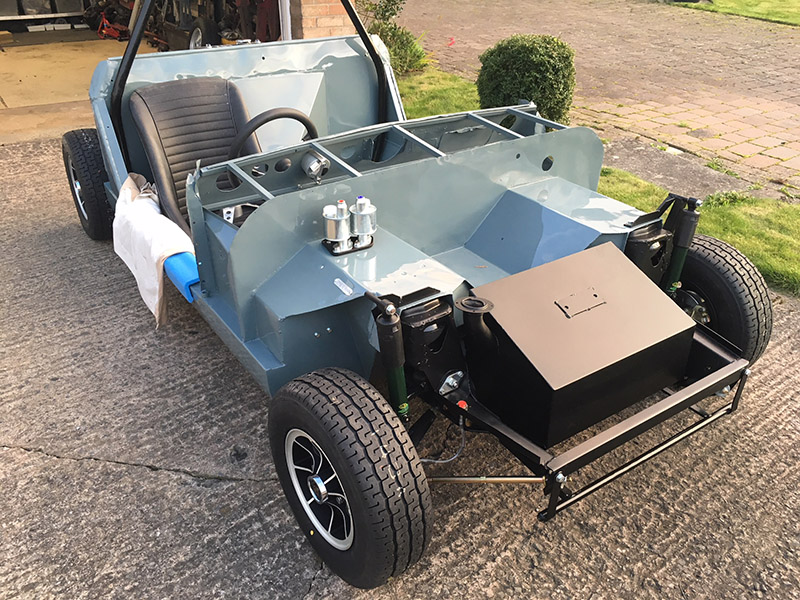 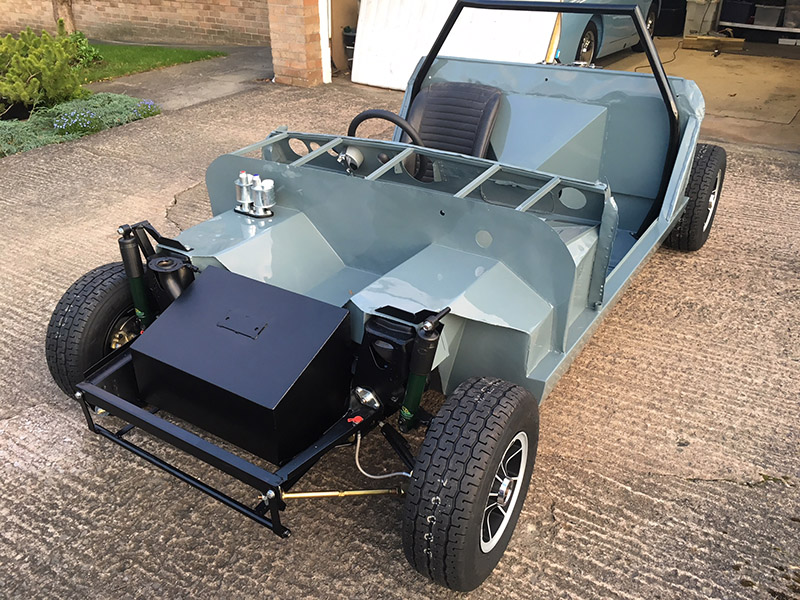 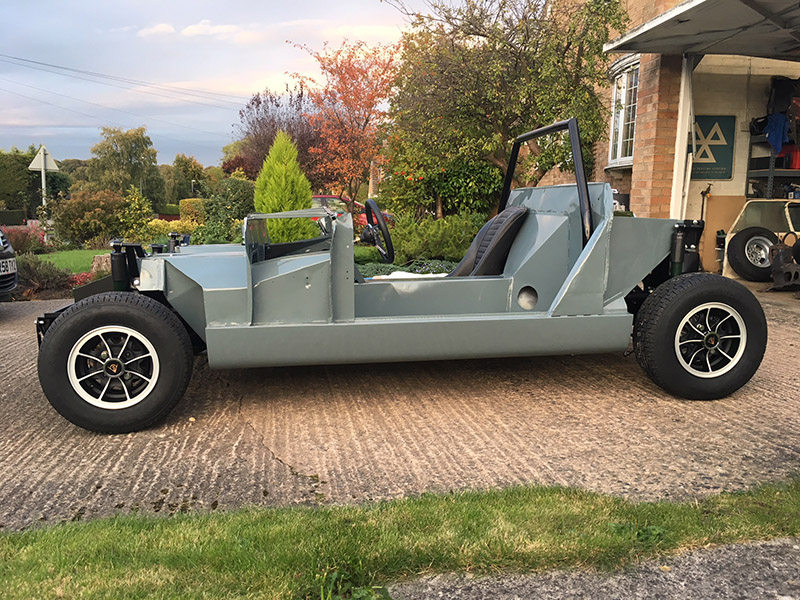 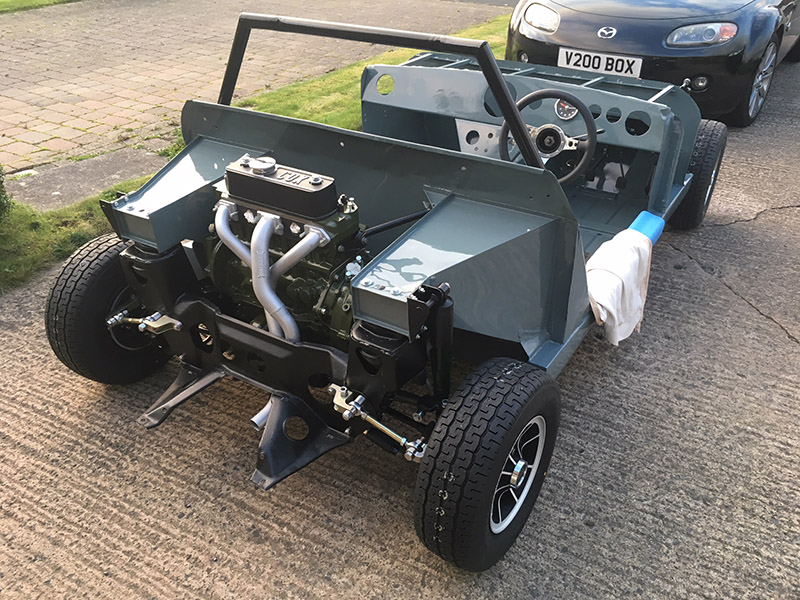 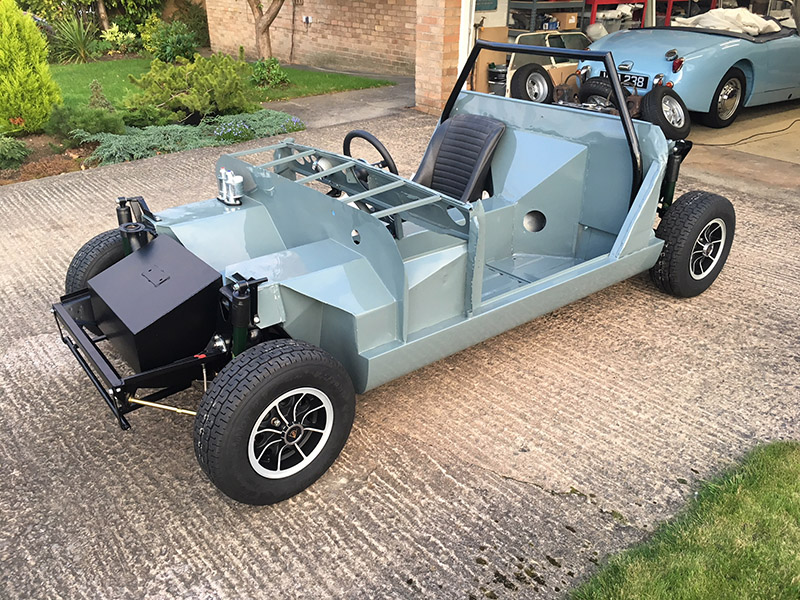 A few close-ups, this shots shows the 'interesting' support the original owner/builder made to support the pedal box, I just had to keep it for posterity... 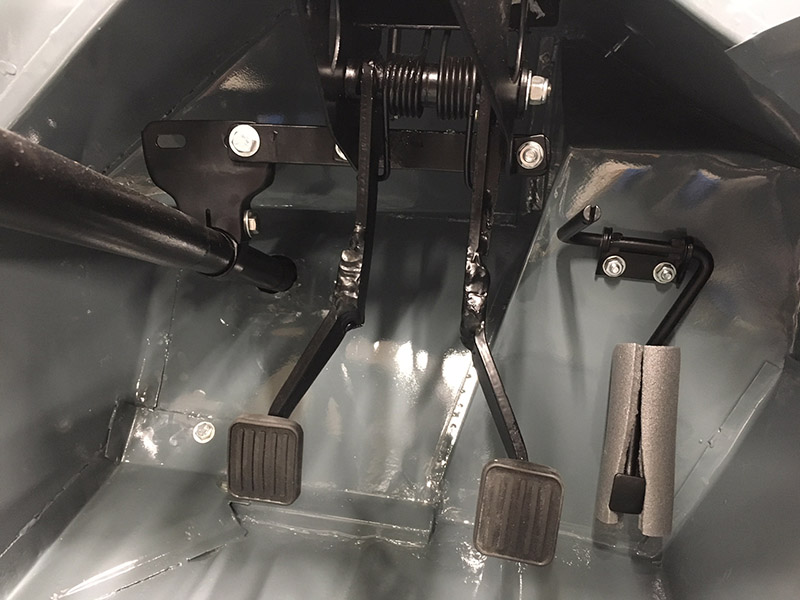 The next one shows the adjustments I've had to make to the clutch cover to clear the body, I'll tidy them up when I take the engine out again to sort the handbrake, you can also see the clearance on the clutch arm which is going to need sorting. 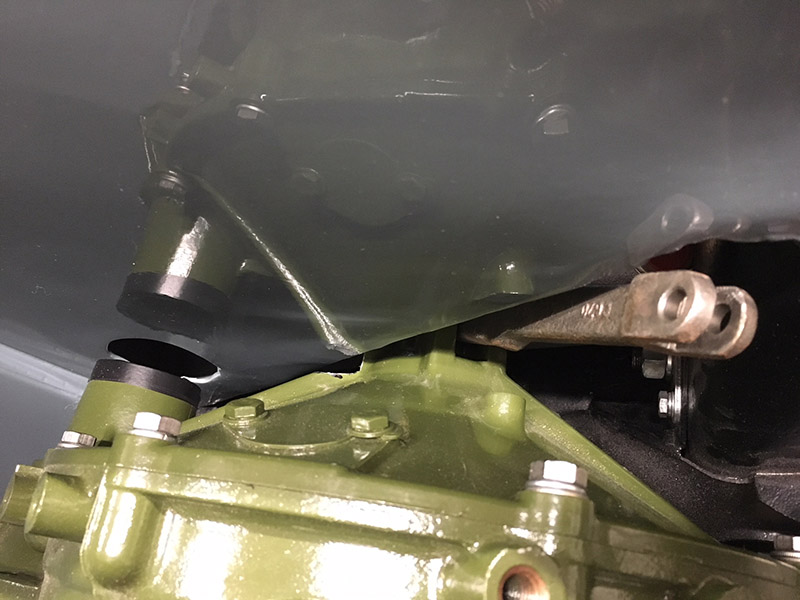 And this shows the space down the bulkhead before fitting the dynamo/dizzy/starter and a shed load of pipes and cables... 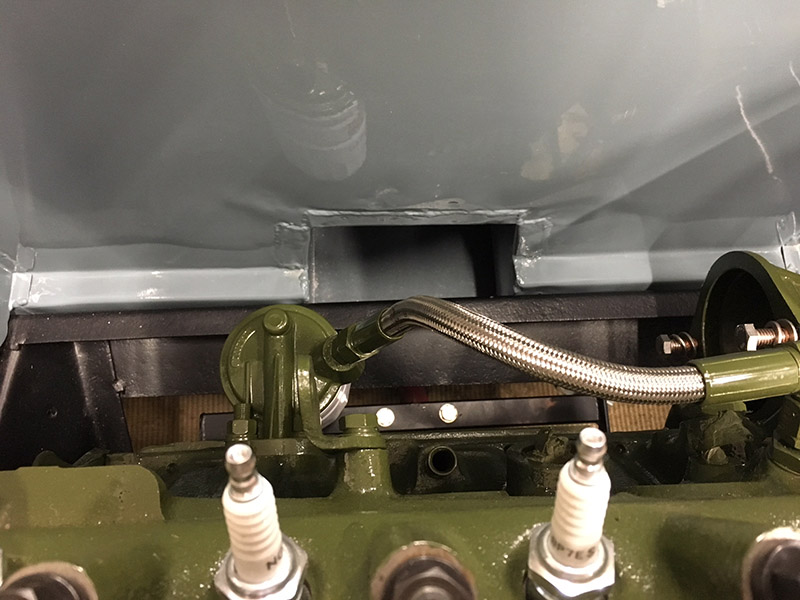 Two problems I'm mulling over in the back of my mind are that with the steering wheel fitted I can't see the rev counter. The whole cars could do to sit a bit lower too but the hi-lows are on there max so not sure how I'm gunna do that, the car being so lightweight doesn't help.
|
| Tue Oct 10, 2017 9:18 am |
|
|
|
Steve Shield
Ready for SVA
Joined: Tue Sep 09, 2008 4:46 pm
Posts: 311
|
Re: Just bought 60s Cox GTM project NDB414G Andy that really is a great job!
I hadn't realised that the pedal box was mounted so far outboard on the early cars -- I suppose that the foot well being longer allows for this.
Regarding the hi-los I read somewhere -- Bill Sollis' book on building a Miglia car I think -- that if you're careful its possible to machine a little off the bottom end to allow for more adjustment -- just need to leave enough thread and check that the ball joint pin doesn't bottom out on the nut on the bottom of the rubber cone. Also you could look at machining down the lock nut or even leaving it out altogether and locking the pin in some other way when you're got the ride height you want. Don't forget you're working at a 3.5:1 ratio (I think) so you may not need to change much.
Also - particularly if you're going with negative camber -- don't forget to fit a spacer under the rebound bumper under the top arm to stop the suspension dropping too far and snapping the swivel pin.
Steve
|
| Tue Oct 10, 2017 2:20 pm |
|
|
|
AndyB72
Part built GTM
Joined: Mon Dec 30, 2013 11:51 am
Posts: 85
Location: West Yorkshire
GTM: Cox/Coupe
|
Re: Just bought 60s Cox GTM project NDB414G Thanks for your advice Steve, I'll set the ride height once the body is on and see where to go from there, machining the lock nut sounds like a good option. I'd like the driveshafts to sit level which means it needs to come down an inch or so.
|
| Tue Oct 10, 2017 2:29 pm |
|
|
|
kano nordie
On the Road
Joined: Wed Jul 31, 2013 11:47 am
Posts: 967
Location: Kano north Nigeria
GTM: Cox/Coupe
|
Re: Just bought 60s Cox GTM project NDB414G If I remember correctly, its long ago before they had HiLow's, machining 1/16" off the alli trumpet lowered the car 1" so you don't have to take much off the locknuts  It look great and coming along so quickly John
|
| Tue Oct 10, 2017 3:15 pm |
|
|
|
AndyB72
Part built GTM
Joined: Mon Dec 30, 2013 11:51 am
Posts: 85
Location: West Yorkshire
GTM: Cox/Coupe
|
Re: Just bought 60s Cox GTM project NDB414G I think with everything being new it is sitting very high to start with, even after shortening the hi-lows as much as they will go. Maybe after fitting the shell, a tank of fuel and fat Yorkshireman the ride height will settle 
|
| Tue Oct 10, 2017 3:21 pm |
|
|
|
kano nordie
On the Road
Joined: Wed Jul 31, 2013 11:47 am
Posts: 967
Location: Kano north Nigeria
GTM: Cox/Coupe
|
Re: Just bought 60s Cox GTM project NDB414G If your doughnuts are new they will settle down, just a thought, if you have a tank made think about the ideal location in the chassis Vee, I did this with my old Cox and have modified the later chassis I'm now building to replicate it and have put a tank there
Cheers
John
|
| Tue Oct 10, 2017 3:43 pm |
|
|
|
AndyB72
Part built GTM
Joined: Mon Dec 30, 2013 11:51 am
Posts: 85
Location: West Yorkshire
GTM: Cox/Coupe
|
Re: Just bought 60s Cox GTM project NDB414G I was thinking of putting the battery in the V section, where did you install the battery?
|
| Tue Oct 10, 2017 3:50 pm |
|
|
|
kano nordie
On the Road
Joined: Wed Jul 31, 2013 11:47 am
Posts: 967
Location: Kano north Nigeria
GTM: Cox/Coupe
|
Re: Just bought 60s Cox GTM project NDB414G Hi Andy, I have probably posted this picture before somewhere  I made the steel tank and this picture was taken in 1980 with the battery in an angle iron tray on the left side leaving room for a 10x165 spare wheel, the tank was replaced with and alli one in 1989 that never actually got used as I had a garage fire destroying the car (and garage) when filling it from a jerry can  I'm hoping I can squeeze a 13" space saver spare into the same position in my "new" car. John
|
| Wed Oct 11, 2017 6:18 am |
|
|
|
kano nordie
On the Road
Joined: Wed Jul 31, 2013 11:47 am
Posts: 967
Location: Kano north Nigeria
GTM: Cox/Coupe
|
Re: Just bought 60s Cox GTM project NDB414G getting old forgot to attach picture
Attachments:
 Cox GTM tank 001.jpg [ 152.49 KiB | Viewed 15114 times ]
|
| Wed Oct 11, 2017 6:19 am |
|
|
|
derek hambly
Part built GTM
Joined: Sat Nov 09, 2013 8:17 pm
Posts: 55
GTM: Cox/Coupe
|
Re: Just bought 60s Cox GTM project NDB414G Hi Andy,
On the early cars the clutch operating arm had to heated and bent to clear the rear pontoon, the little plunger bit that sits in the slave cylinder had to be bent to match.
The other way is to cut and weld the operating arm to a new shape.
The CCC series of articles have a sketch showing what they did to get theirs to work.
Regards
Derek Hambly
|
| Tue Oct 17, 2017 7:51 pm |
|
|
|
sanzomat
GTM Nirvana
Joined: Sun Oct 19, 2014 10:10 pm
Posts: 1170
Location: Bristol
GTM: Spyder
|
Re: Just bought 60s Cox GTM project NDB414G Just spotted that light blue TR in the garage in the background to one of your pictures - that looks a beauty - was that your handiwork too?
|
| Tue Oct 17, 2017 8:37 pm |
|
|